WhatsApp communication has become essential for businesses, and KWIC provides a streamlined platform to manage message templates efficiently. If you’re new to the KWIC system or just looking to refresh your knowledge, this guide walks you through how to create a WhatsApp template in KWIC and submit it for approval.
Step-by-Step Guide to Creating a WhatsApp Template in KWIC
Step 1: Log into the KWIC Platform
Start by visiting the KWIC login page and signing in with your credentials. Once logged in, you’ll be directed to the KWIC dashboard.
Step 2: Access the Template Section
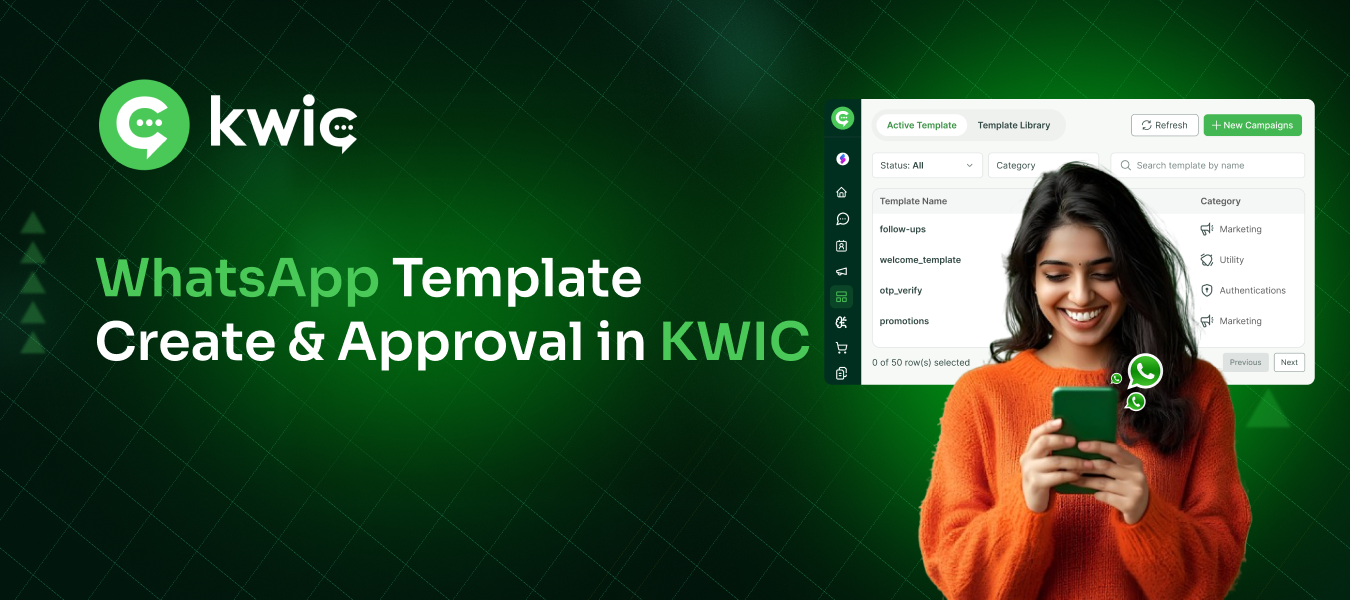
From the dashboard, navigate to the left-hand menu and click on the “Template” option. This will take you to the template management interface, where you can view, edit, or create message templates.
Active Templates: Templates currently in use.
Template Library: Predefined templates provided by KWIC.
Step 3: Create a New Template
Click on the “Create Template” button located on the right-hand panel. This begins the new template setup process.
Step 4: Fill in Template Basics
Template Name: Enter a unique name for your template (e.g., Welcome_Message).
Category: Choose from categories such as
- Marketing – Custom: Send promotions to increase awareness and engagement
- Utility – Custom: Send messages related to an existing order or account
- Authentication – One-time Passcode: Send codes to verify a transaction or login
Language: Select the language for your message (e.g., English).
Step 5: Choose a Header Component
KWIC allows you to add a header to enhance your message visually or contextually. Choose from the following header options:
- None – No header.
- Text – Add a short text (max 60 characters).
- Image – Upload an image (Max size: 5 MB).
- Video – Upload a video file (Max size: 16 MB).
- Document – Upload a document (Max size: 30 MB).
Step 6: Add Body Content
This is the core content of your message. Write a clear, concise message that conveys your purpose.
Tip: KWIC provides right hand side panel as a preview to guide your formatting and structure.
Step 7: Add a Footer
Use the footer section to add a signature or a branded note. For instance: Powered by KWIC
This helps enhance brand recognition.
Step 8: Add Call-to-Action Buttons (Optional)
You can make your message interactive by adding Call-to-Action (CTA) buttons:
- Custom Button – Choose multiple custom actions.
- Call Phone Number – Add a clickable number (include country code, e.g., 91).
- Visit Website – Add a URL to direct users.
- Copy Offer Code – Include a promo or discount code.
- Flow – Assign a keyword to trigger a specific flow automatically.
- Order Detail – Add specific order information dynamically.
Step 9: Submit the Template for Approval
Once you have completed and reviewed your template:
- Click the “Submit for Approval” button on the right-hand panel.
- The page will refresh, confirming your submission.
- Your template will now enter KWIC’s approval workflow.
Step 10: Approved Template
- After submission, Approved Templates are available at the “Active – Template” Section.
- It will be ready to Broadcast for single / bulk (Campaign) Contacts.
Leave a Reply